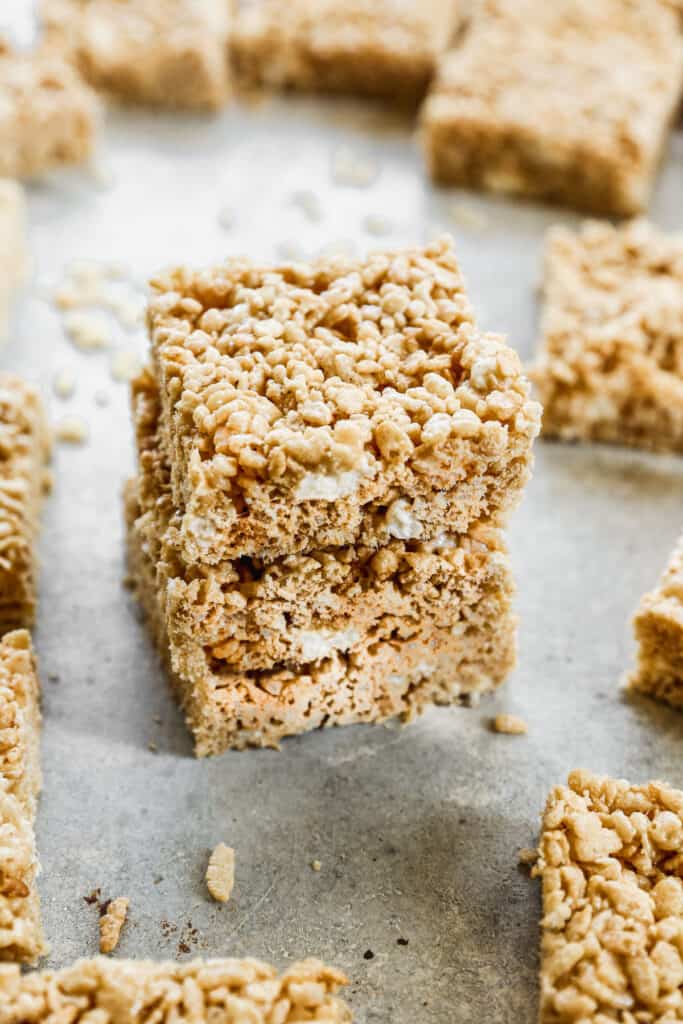
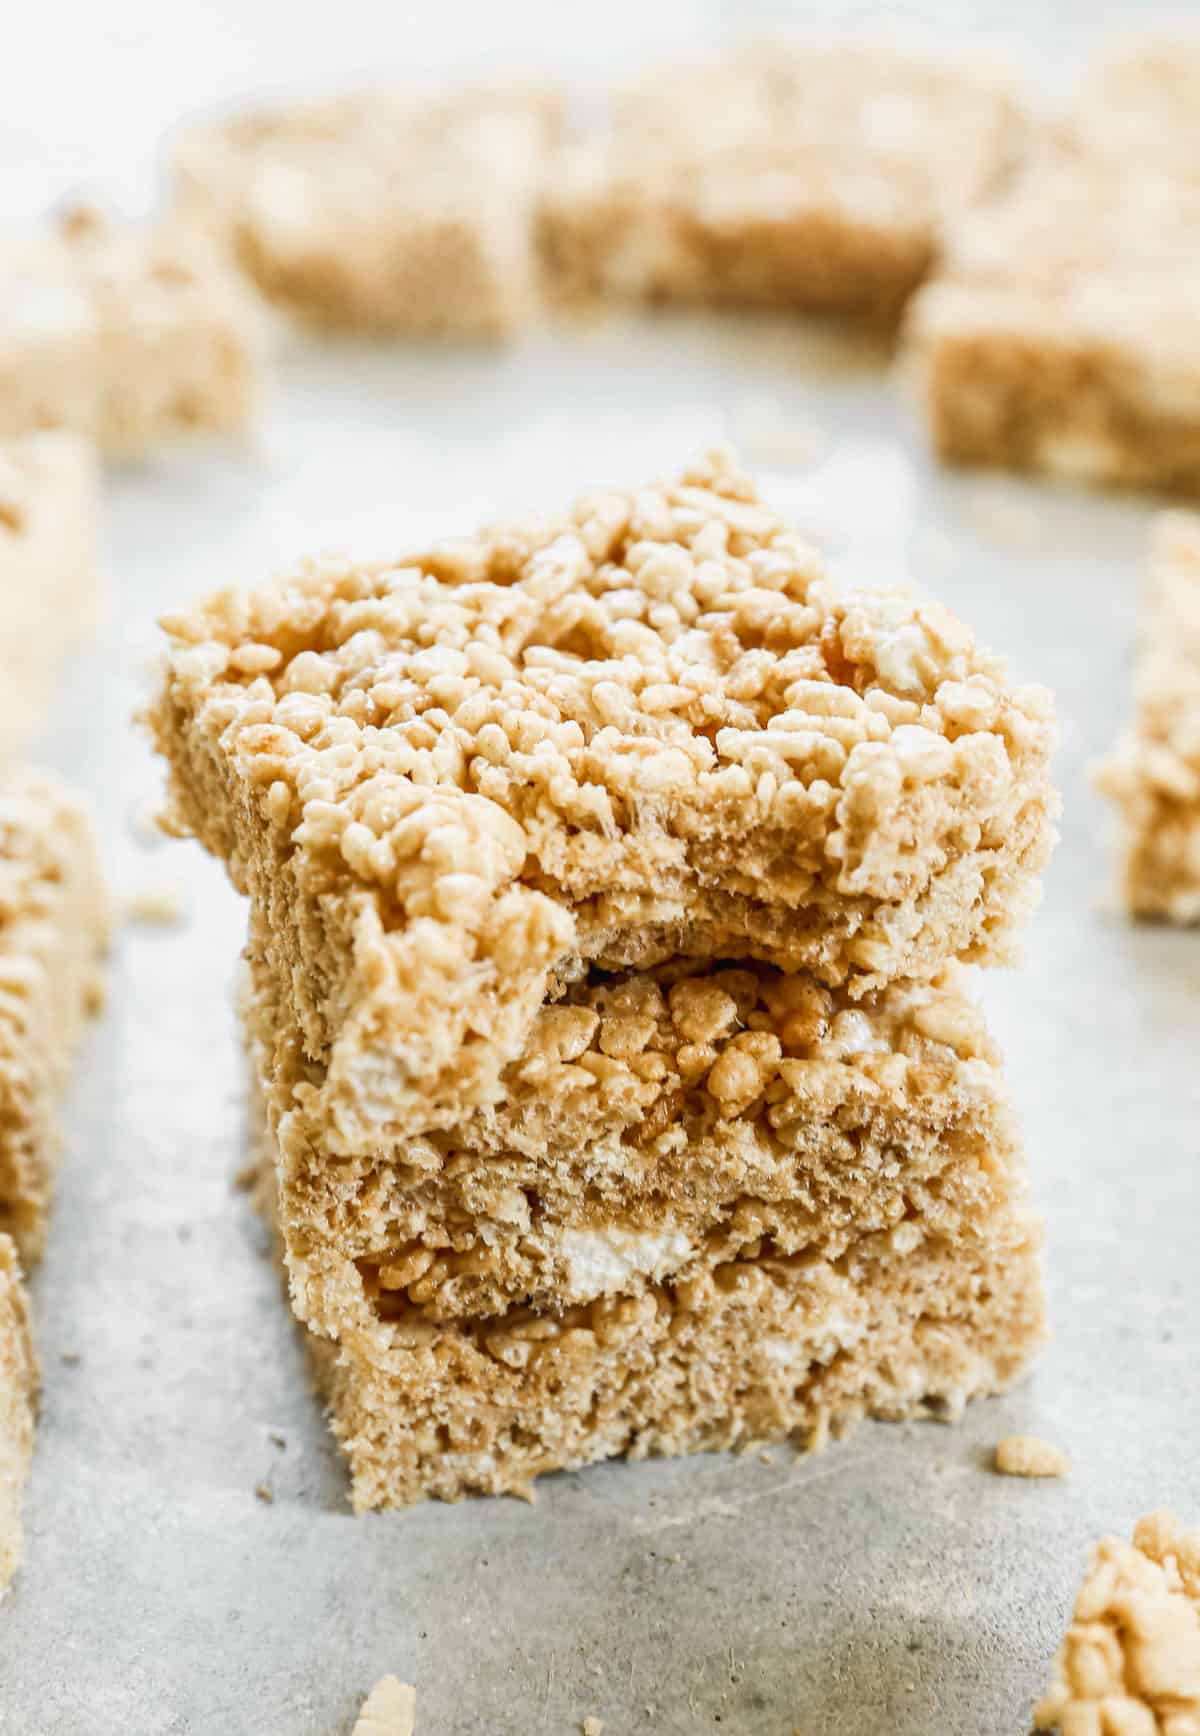
The BEST Rice Krispie Treats recipe yields thick, chewy, and gooey treats that put the old “box” recipe to shame! Make them the traditional way or try fun mix-ins like M&M’s, chocolate and sprinkles.
Want more dessert recipes? Try White Texas Sheet Cake, M&M Cookies, S’mores Bars, or Sweet Chex Mix!
Why I love this recipe:
- Quick and Easy – Takes 15 minutes TOTAL and you don’t even have to turn on the oven!
- Inexpensive – Only a few pantry ingredients, and the perfect way to give a large crowd a yummy treat without affecting your budget. Check out more Budget-Friendly recipes!
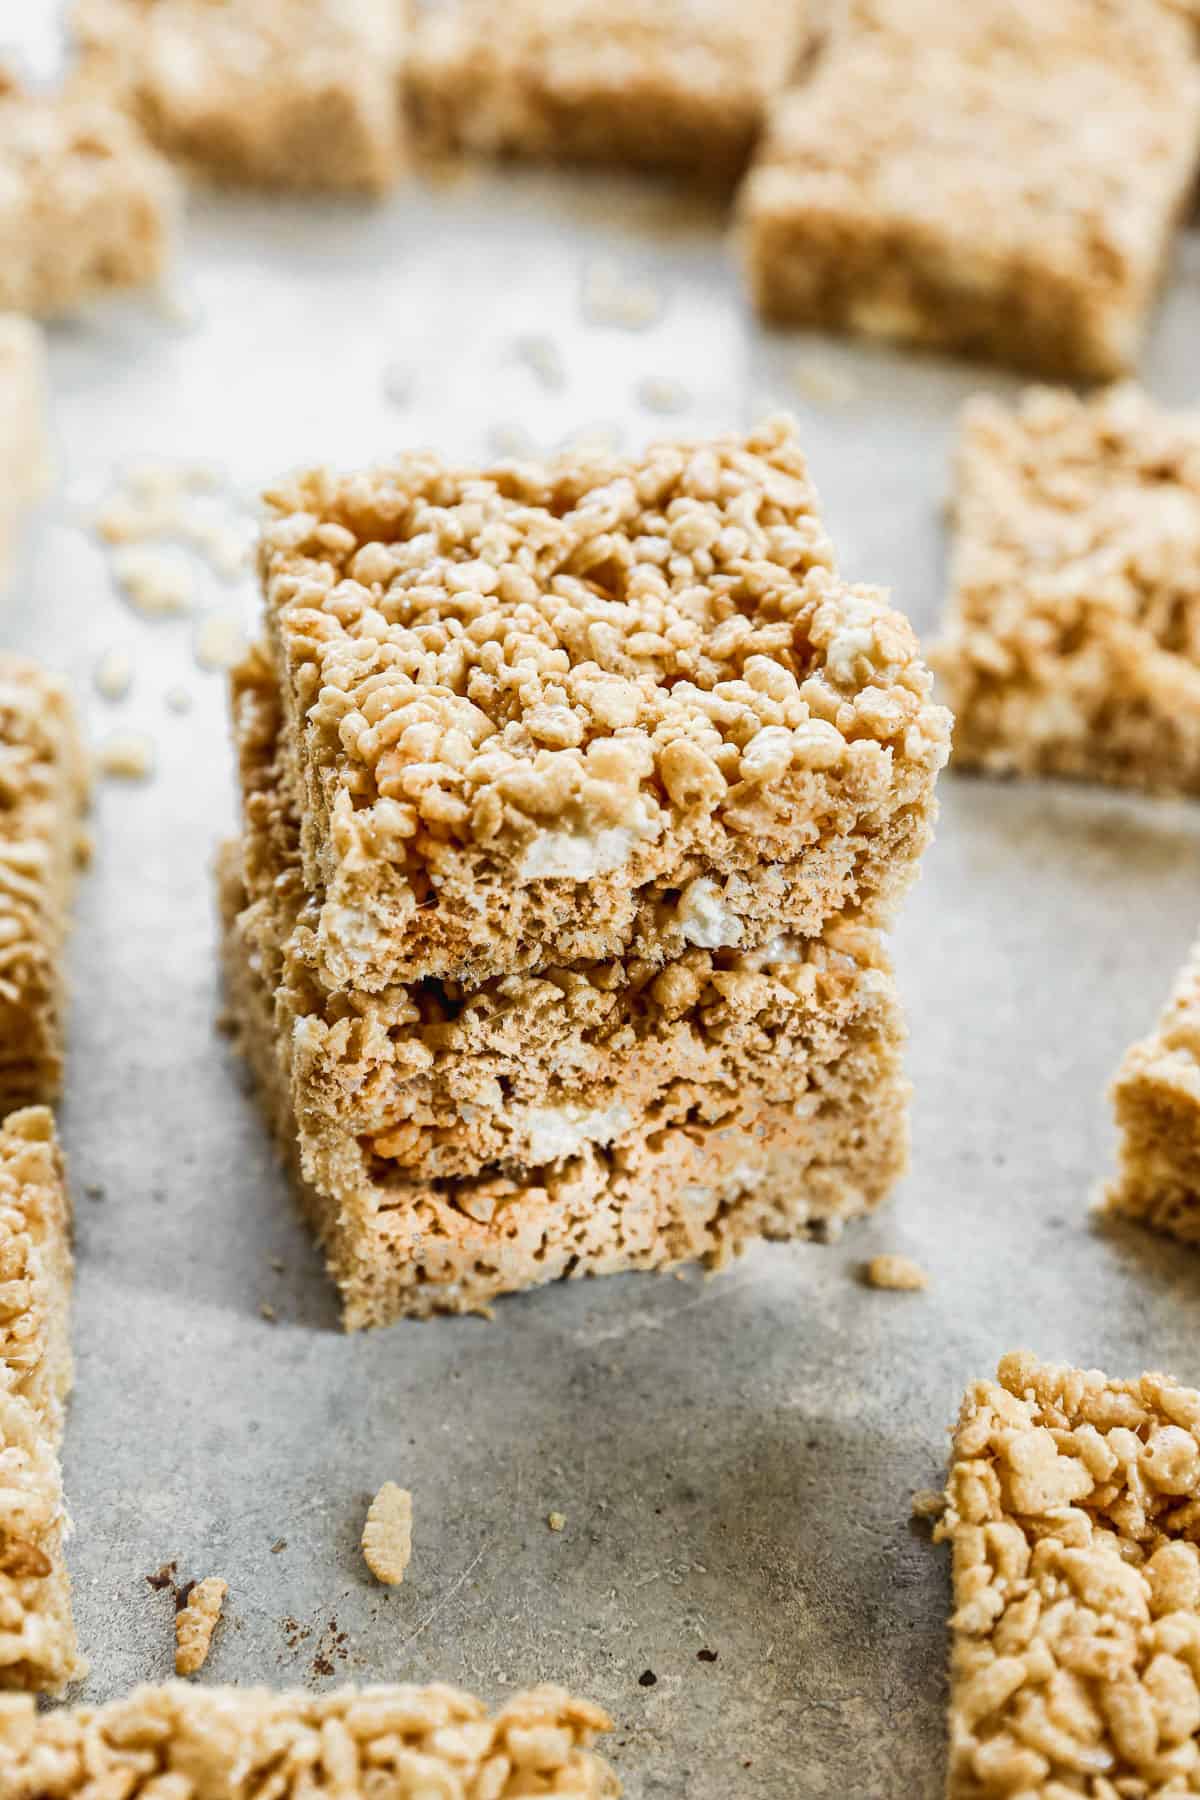
- Everyone’s Favorite – This recipe yields thick, chewy, gooey rice krispie treats! They have the perfect texture and there is so much more of that amazing marshmallow flavor that everyone loves. You will never use another recipe again!
How to make Rice Krispie Treats:
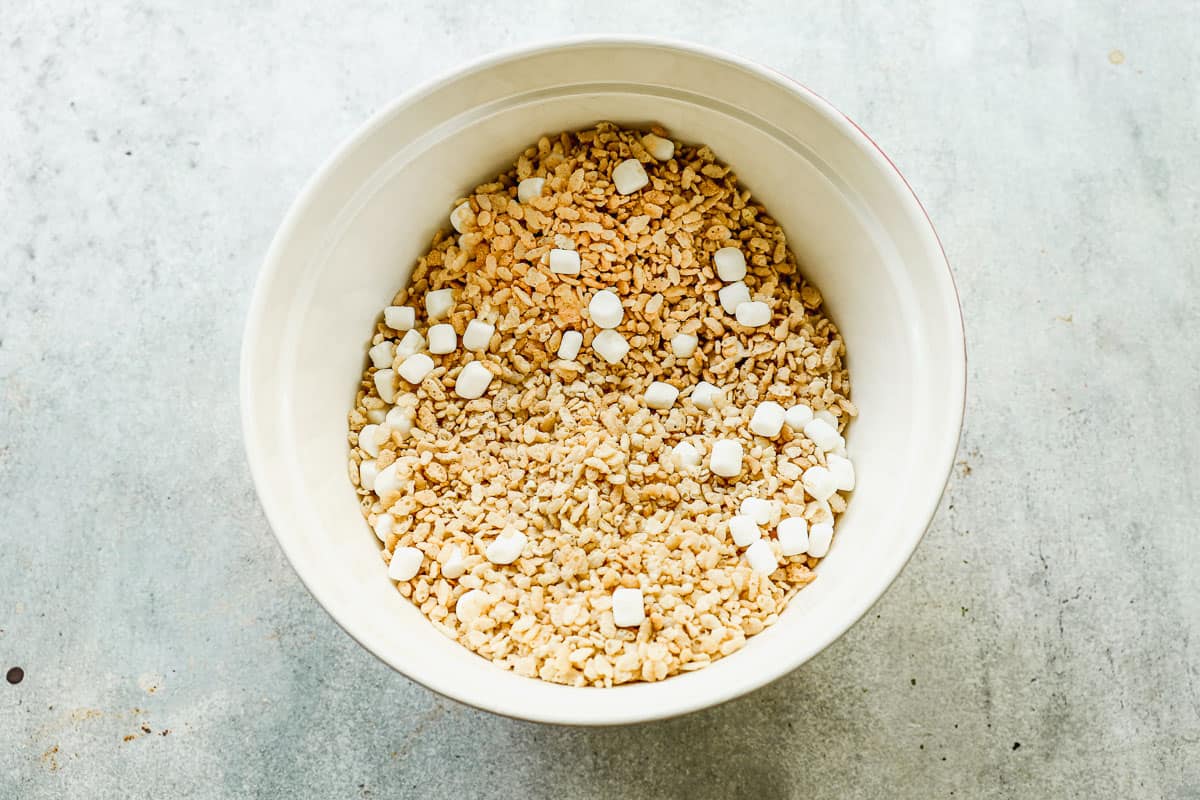
Prep Cereal: Pour cereal and 2 cups of marshmallows into an extra-large bowl. Grease a 13×18’ half sheet pan lightly with butter or non-stick cooking spray. Set aside.
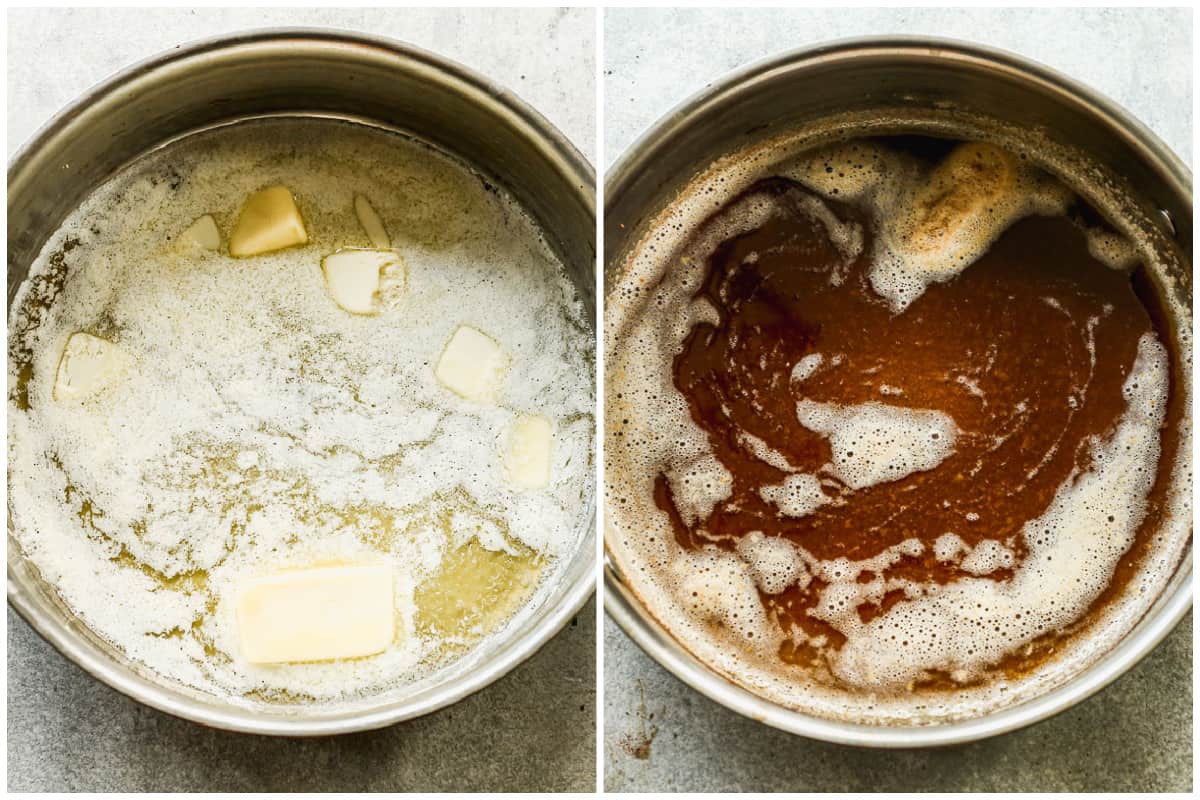
Melt (or brown) the Butter: Add butter to a large saucepan and allow to melt (optional: for browned butter rice krispie treats, brown the butter by cooking it over low heat, swirling it around a few times, until it’s golden and smells nutty fragrant (don’t let it burn!).
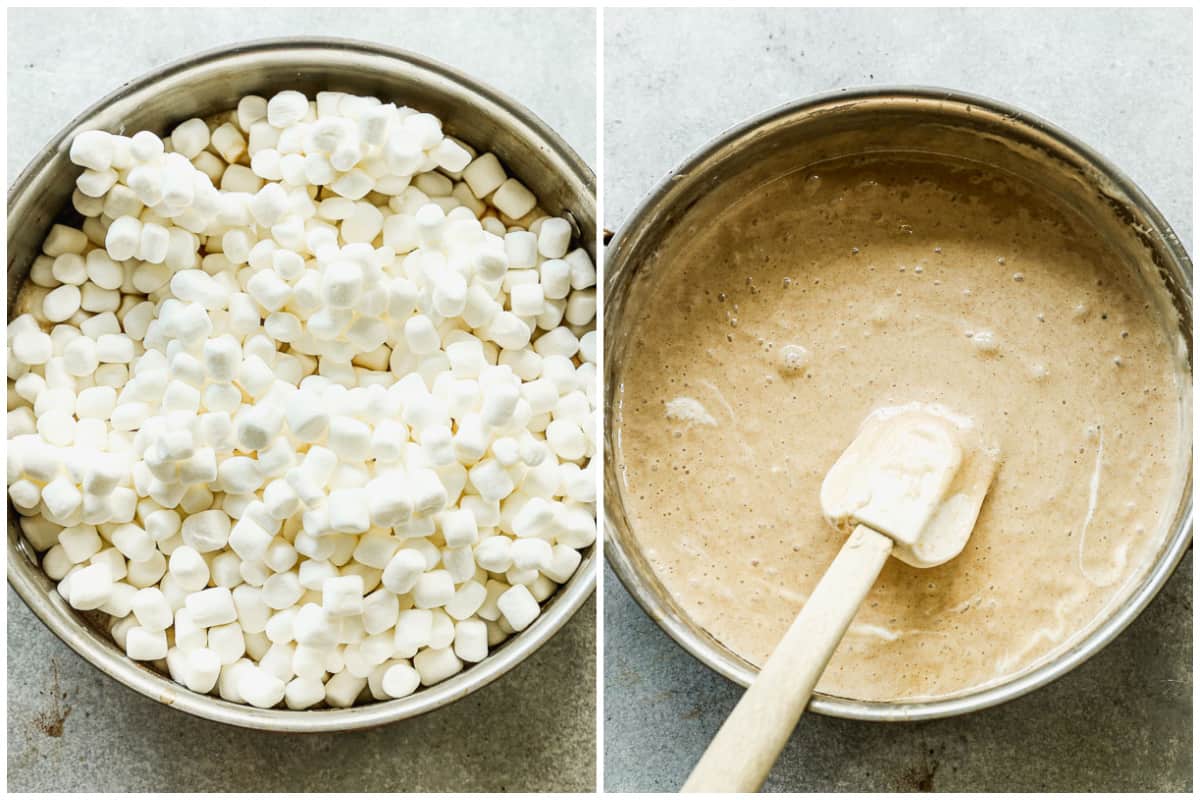
Add Marshmallows: Remove from heat and stir in remaining marshmallows, vanilla and salt. Stir constantly, and place back on low heat if needed, until melted and smooth.
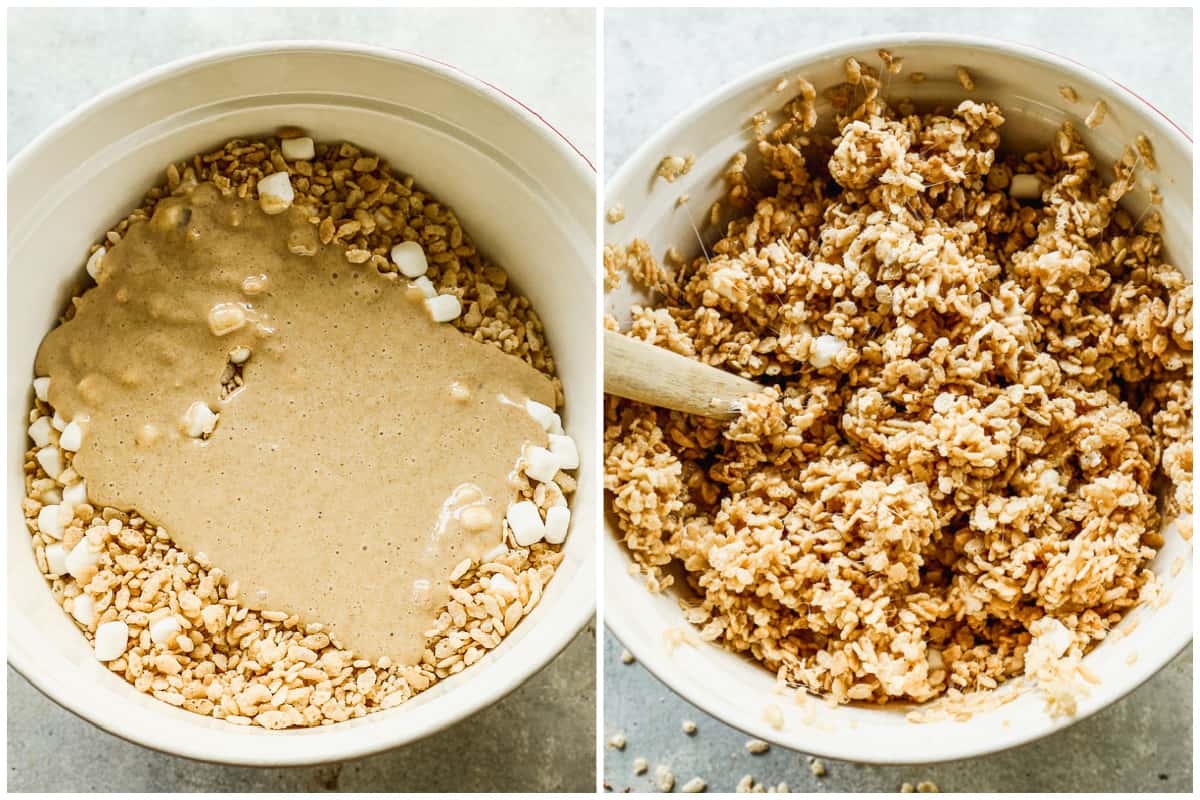
Pour Over Cereal: Gradually pour mixture over the Rice Krispies cereal, tossing to coat evenly. Stir in other mix-ins* if desired.
Press Mixture into prepared pan and allow to cool before cutting into squares. (I cut 20 squares (5 by 4).
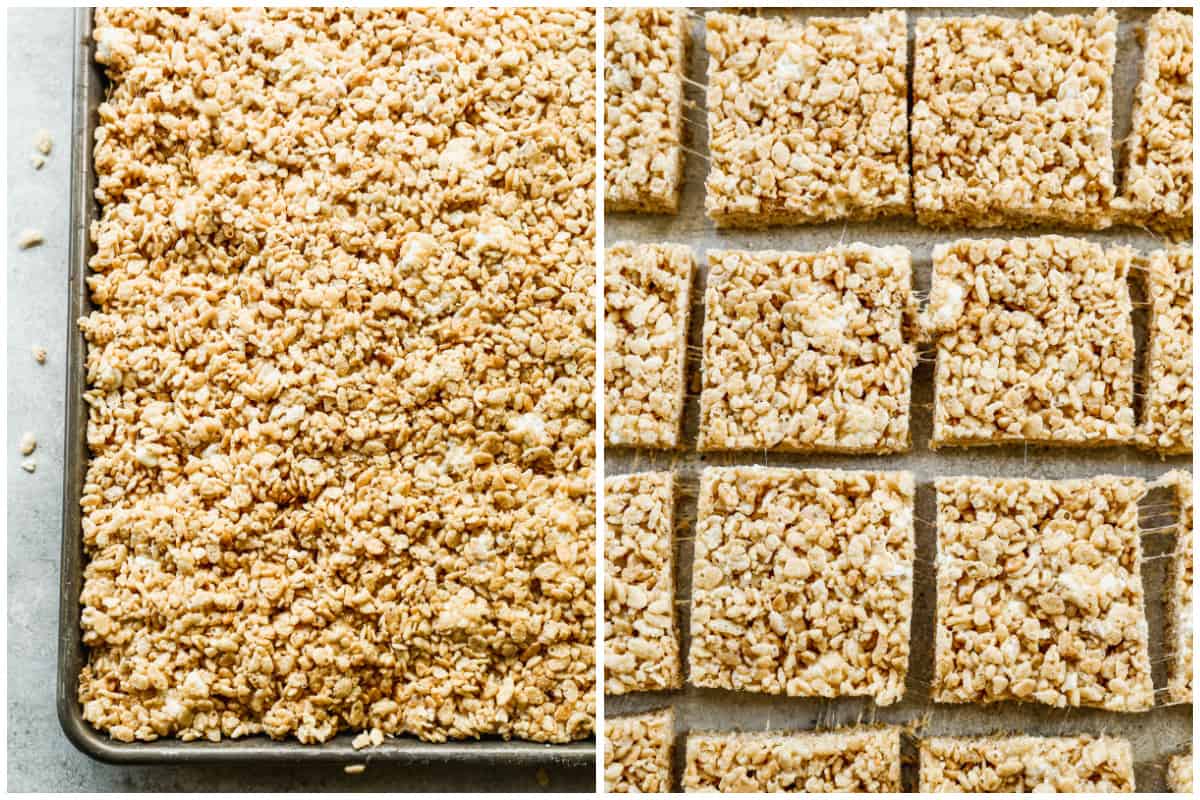
Enjoy: For best results, wrap leftover homemade rice krispie treats individually in plastic wrap for up to 2 days, or freeze (instructions for freezing are below).
Storage and Freezing Instructions:
To Store: These browned butter Rice Krispie Treats will stay soft and delicious for up to two days. I like to wrap each square individually in plastic wrap, to make sure they stay soft. If you want to store them for longer than two days, try freezing them.
To Freeze: Allow these gooey Rice Krispie Treats to cool completely and cut them into squares. Freeze in an airtight container, or wrap each square in a piece of plastic wrap and place them in a gallon freezer bag. Freeze them for up to 3 months.
Recipe Variations:
- 9×13 Inch Pan: Cut the ingredients in half and pour into a greased 9×13” pan.
- Gluten Free Rice Krispies: Make sure the brand of rice krispies cereal you use is Gluten-free.
- Add-In Ideas: Butterscotch chips, chocolate chips, m&m’s, chopped Oreo cookies, Reese’s pieces, sprinkles or white chocolate chips.
- Fruity Pebbles Rice Krispies: Substitute fruity pebbles in place of rice krispies, or use half of each.
- Chocolate Rice Krispie Treats: Substitute Cocoa Krispies as the cereal.
- Scotcheroos: These are Rice Krispies Treats flavored with peanut butter, chocolate, and butterscotch.
- Chocolate Caramel Rice Krispie Treats
More Fast and Easy Treats:
- Toffee Chocolate Chip Bars
- The BEST Mint Brownies
- Sugar Cookie Bars
- Best Ever Peanut Butter Bars
- Caramel Popcorn
- Blondies
- Snickerdoodle Bars
Follow me for more great recipes
Rice Krispie Treats
Ingredients
- 12 cups crispy rice cereal
- 20 oz mini marshmallows (two, 10oz bags, or about 12 cups)
- 1 1/2 sticks salted butter (12 Tablespoons)
- 1 teaspoon vanilla extract
- pinch salt
Instructions
- Pour cereal and 2 cups of marshmallows into an extra-large bowl.Grease a 13×18’ half sheet pan lightly with butter or non-stick cooking spray.Set aside.
- Melt (or brown) the butter: Add butter to a large saucepan and allow to melt (optional: brown the butter by cooking it over low heat, swirling it around a few times, until it’s golden and smells nutty fragrant (don’t let it burn!).
- Remove from heat and stir in remaining marshmallows, vanilla and salt. Stir constantly, and place back on low heat if needed, until melted and smooth.
- Gradually pour mixture over the cereal, tossing to coat evenly. Stir in other mix-ins* if desired.
- Press mixture into prepared pan and allow to cool before cutting into squares. (I cut 20 squares (5 by 4).
Video
Notes
Nutrition
Follow Me
I originally shared this recipe August 2018. Updated June 2023.


