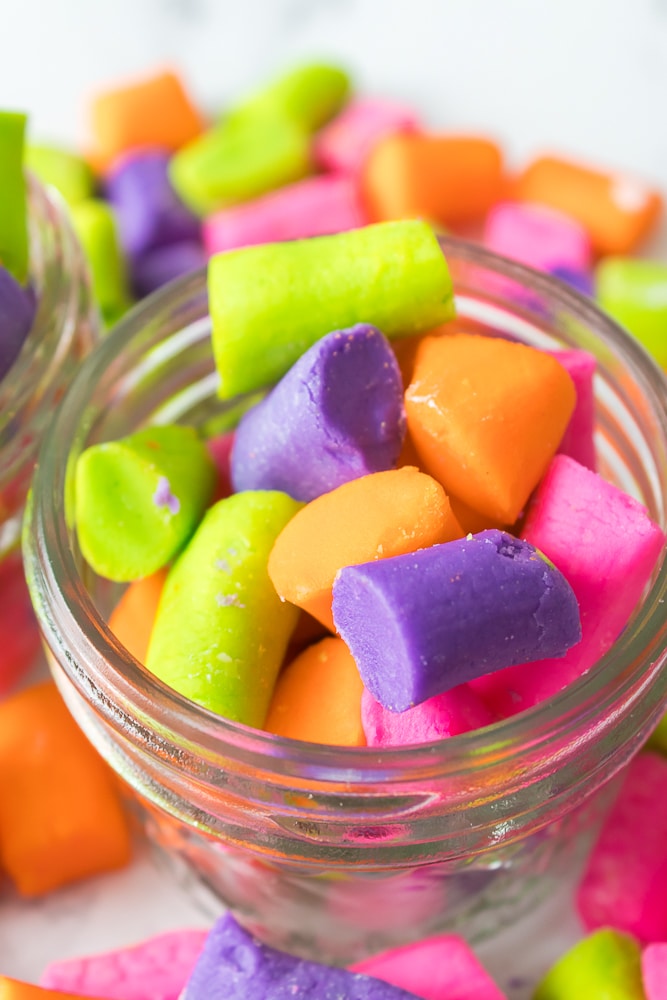
Good Old Fashioned Butter Mints Recipe – Easiest Way to Make Candy & Memories!
Making candy can be tricky, but not this Good Old Fashioned Butter Mints recipe! There is no candy thermometer required, because there is no cooking required. I love to make these to snack on around the house, but they also make beautiful gifts. You can also make them for all sorts of celebrations, as you can change out the coloring you use (so do red and green ones for Christmas, or orange and black ones for Halloween, etc.). This Butter Mints Homemade recipe is perfect for baby showers too, and would be beautiful in soft pastel colors.
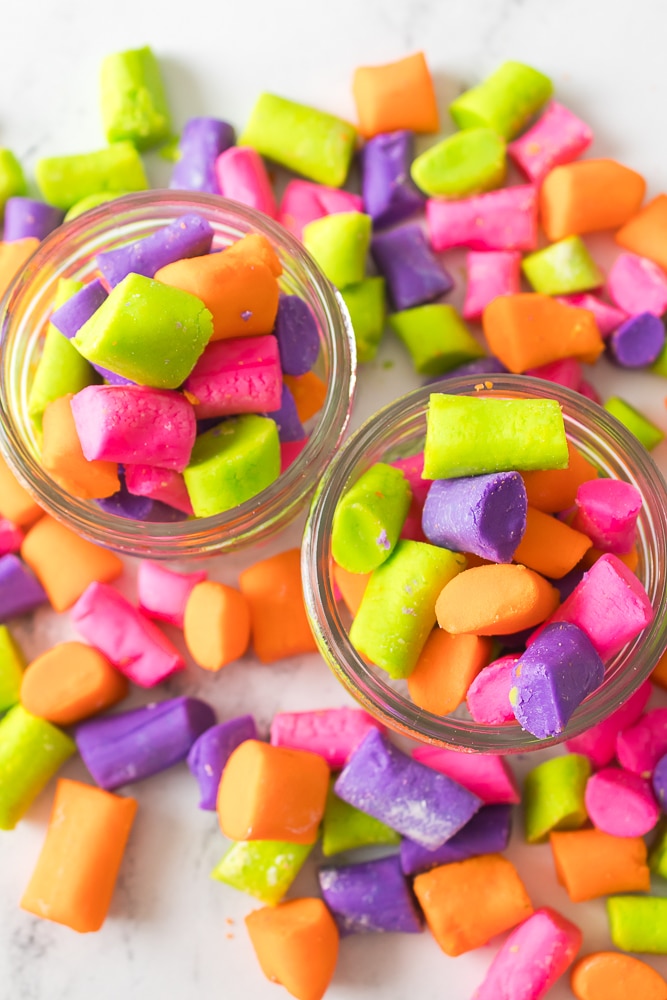
This Butter Mints recipe is a fun one to make with kids too, since it is so simple. Although they are super easy to make, they do require overnight drying time, so for that reason you do want to plan them ahead of time.
You could even serve them in these homemade candy bowls as well.
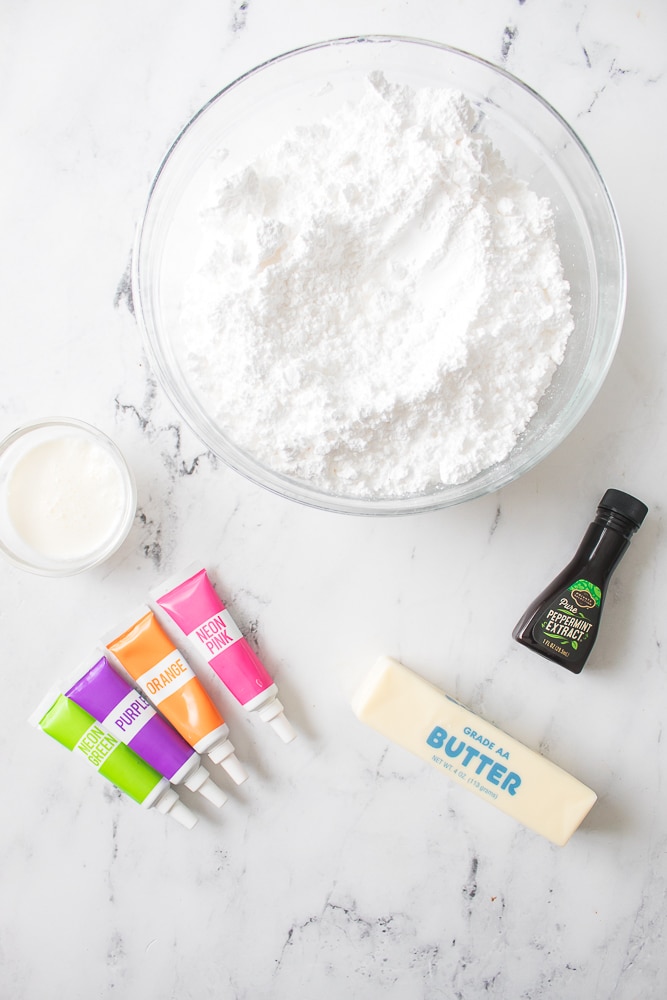
Indgredients needed for Homemade Butter Mints
Here are the ingredients you will need to make this Butter Mint Recipe.
1 stick (1⁄2 c) unsalted butter
1 tbsp heavy whipping cream
4 c powdered sugar
1⁄2 tsp pure peppermint extract
Food coloring
Note – you can ommit the food coloring. It is purely decorative, so if you prefer to keep them the natural color, you can do that without it impacting the taste at all.
Recipe for Butter Mints
Here are the steps to follow to put your butter mints together.
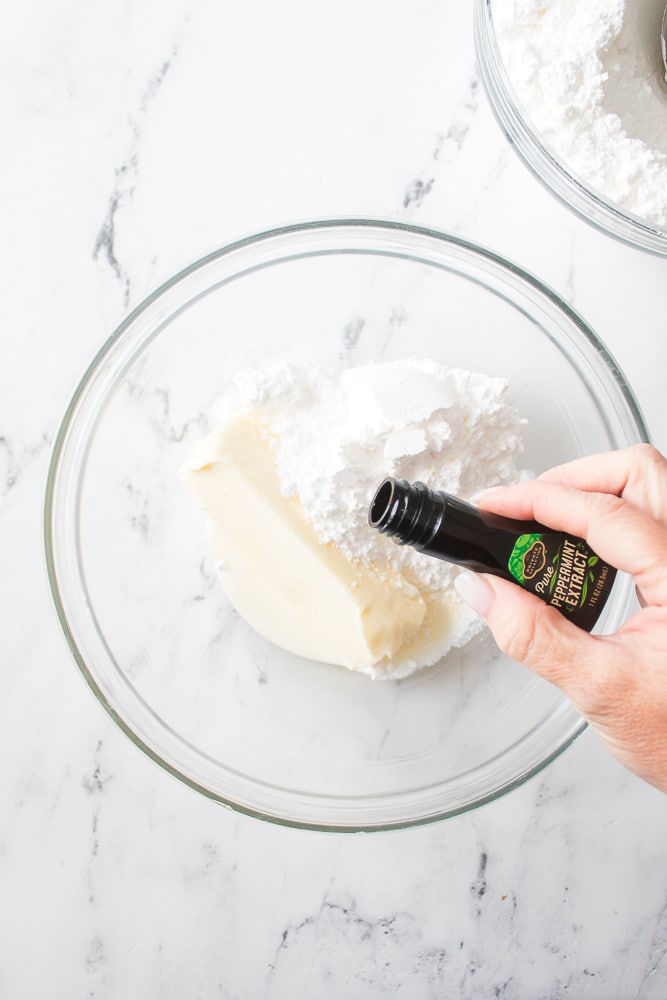
In a large bowl or a stand mixer, cream together the butter, heavy whipping cream, peppermint extract and 1 c of powdered sugar until combined.
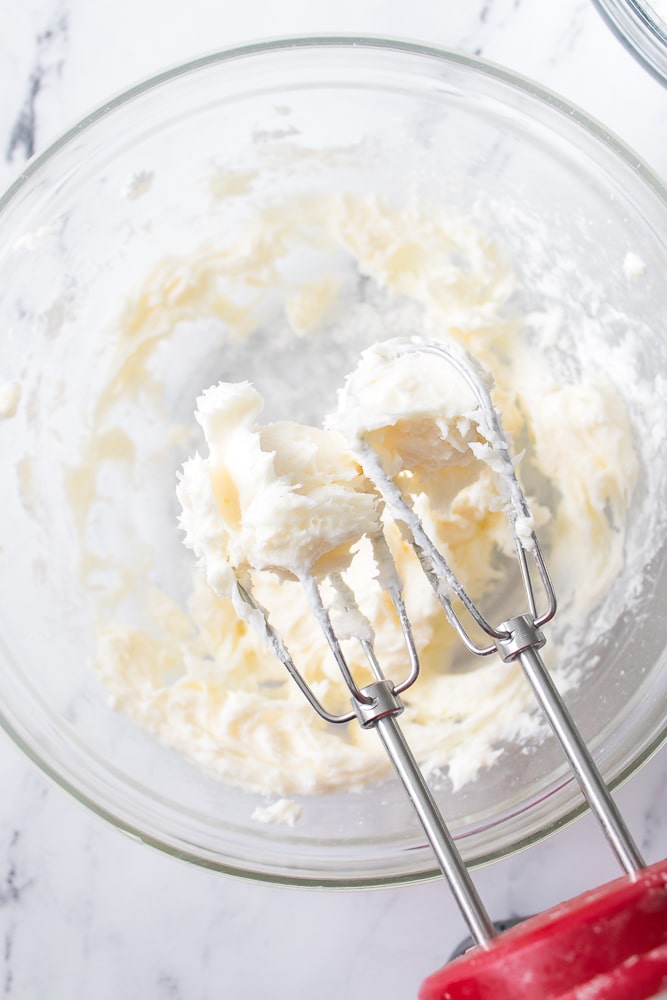
Scrape down the sides of the bowl and continue to add 1 cup of powdered sugar at a time until the powdered sugar is gone and the dough comes together.
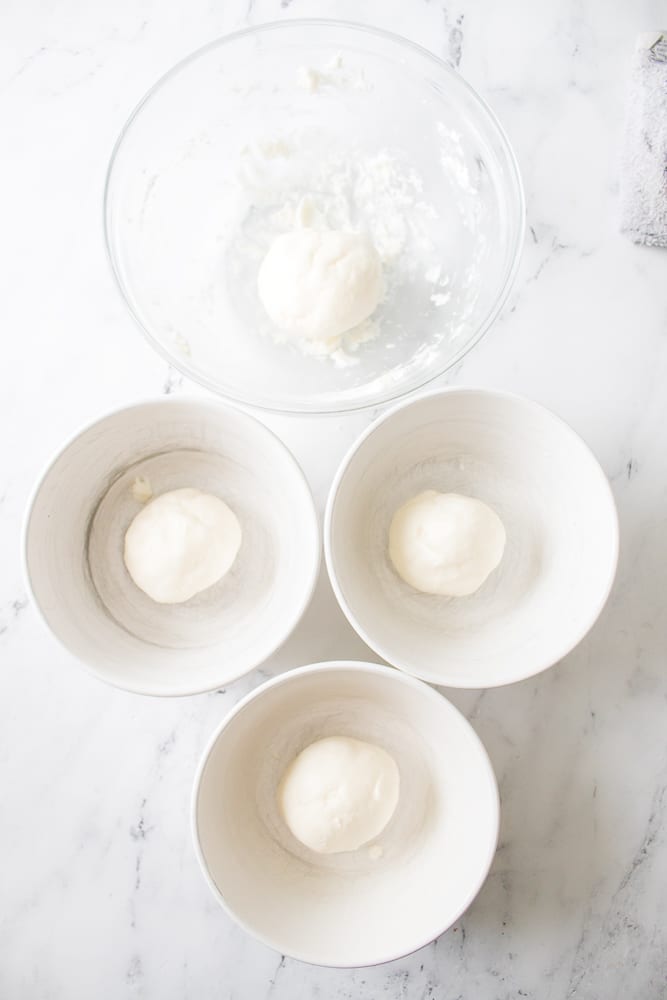
Separate your dough into 4 equal sizes and place into a bowl.
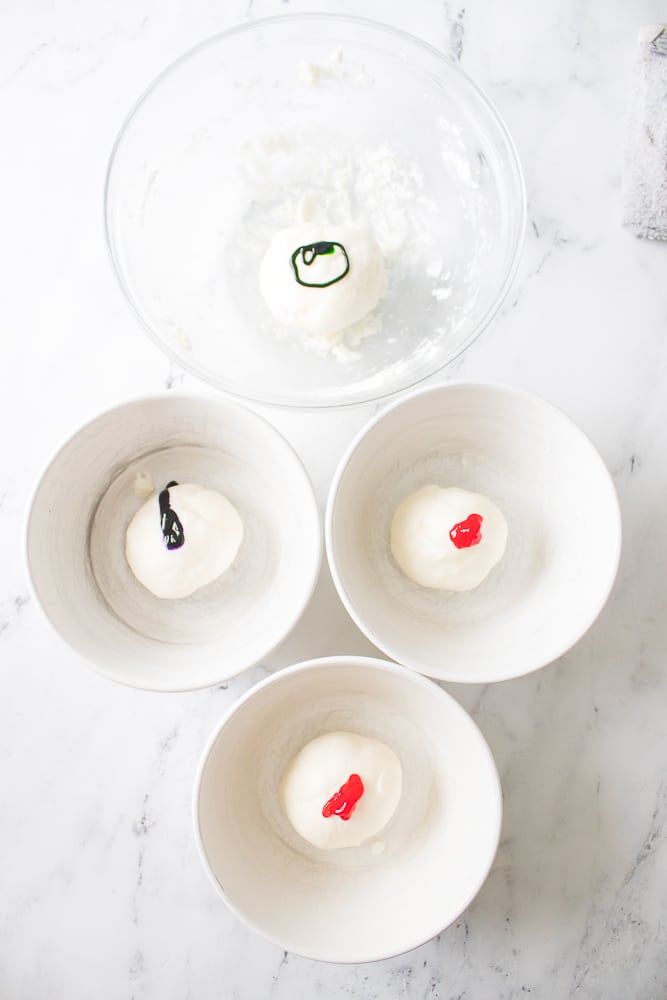
Place your food coloring into each bowl and stir until the coloring is fully combined.
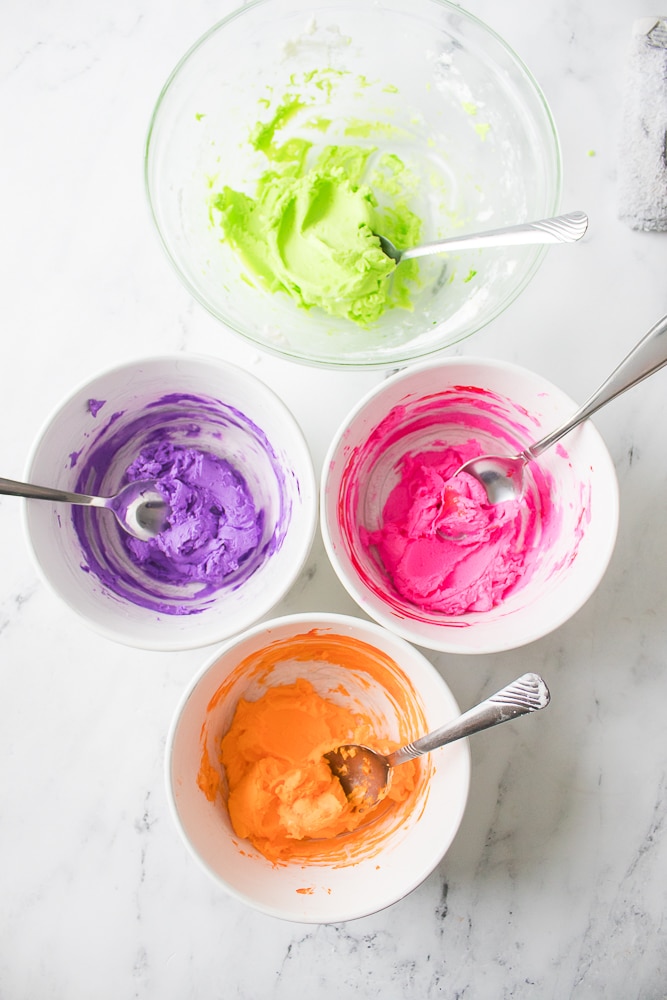
Once you have all the colors you want, you are ready to move on to the next step.
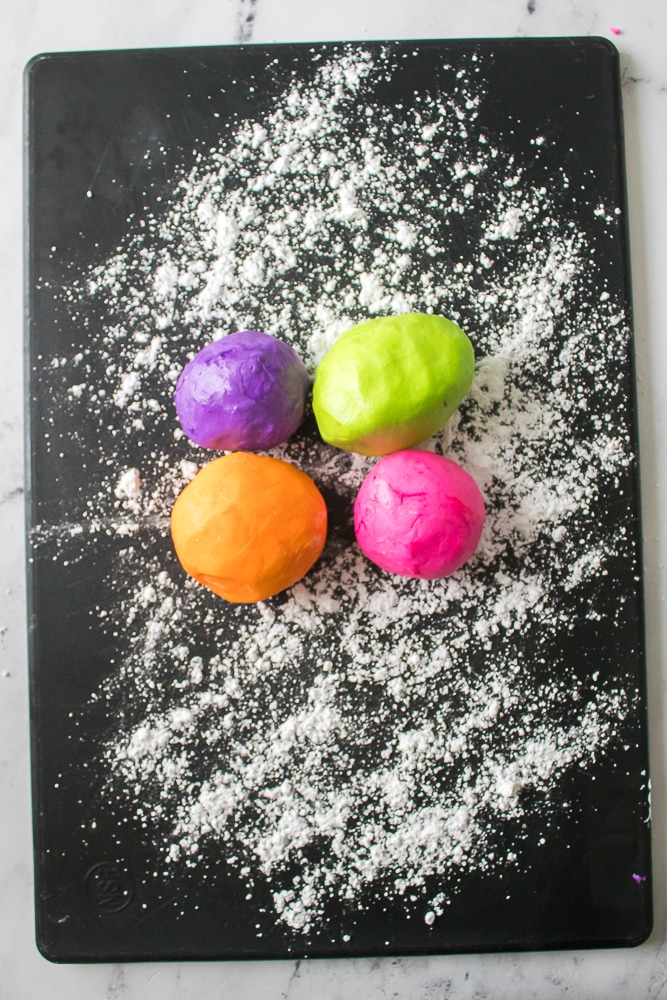
Next, place a ball of dough onto a cutting board that has been dusted with powdered sugar.
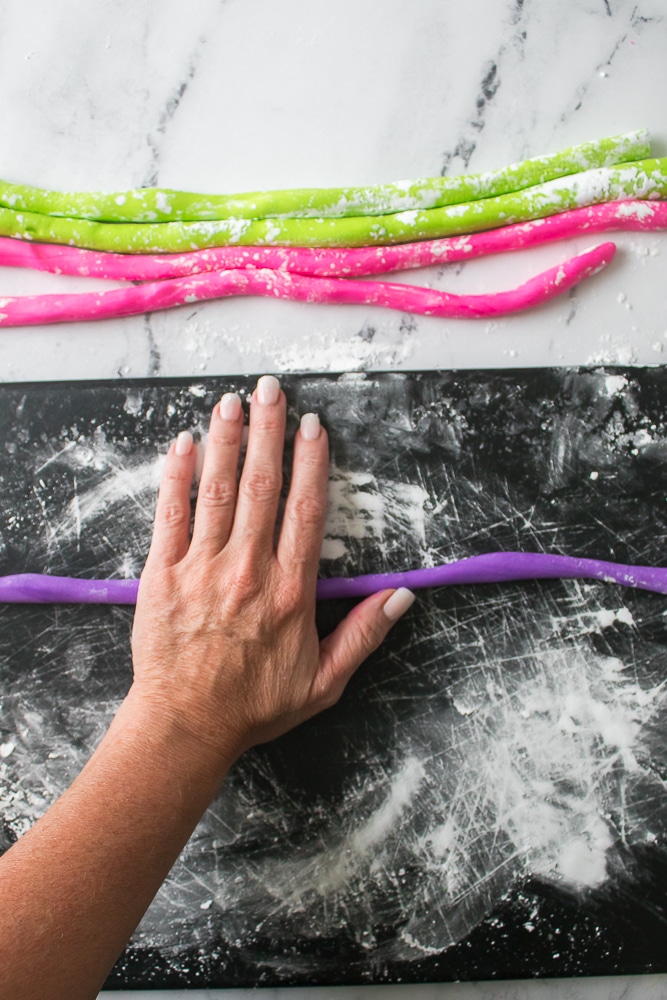
Separate the dough into two equal pieces. Roll the dough out using the palm of your hand into
about a 1⁄2” size “rope”. Continue for all the dough.
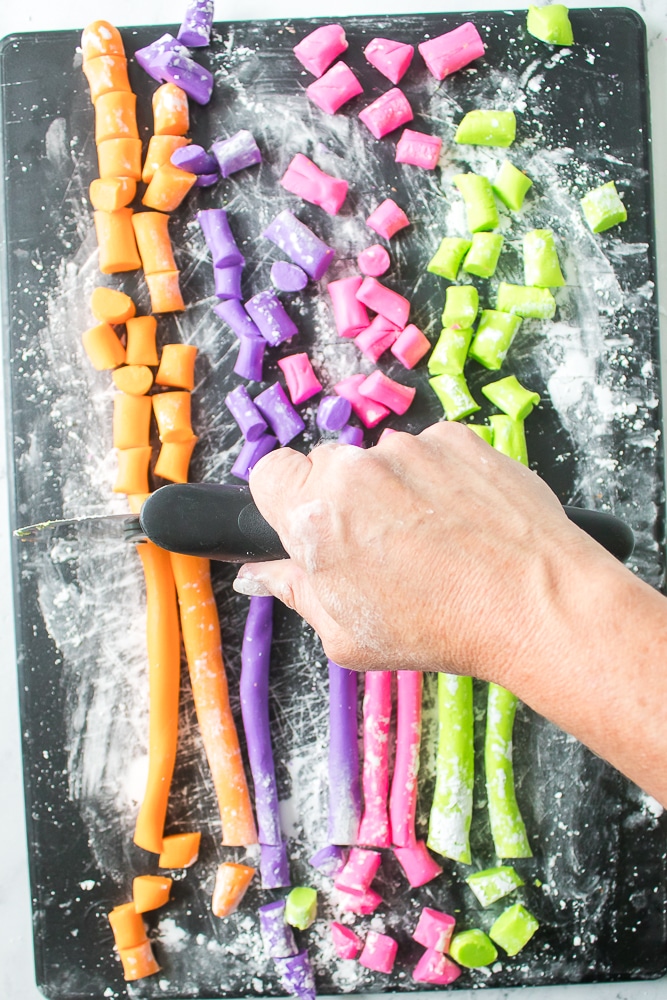
Using a sharp knife, dough scraper or pizza cutter, cut into pieces.
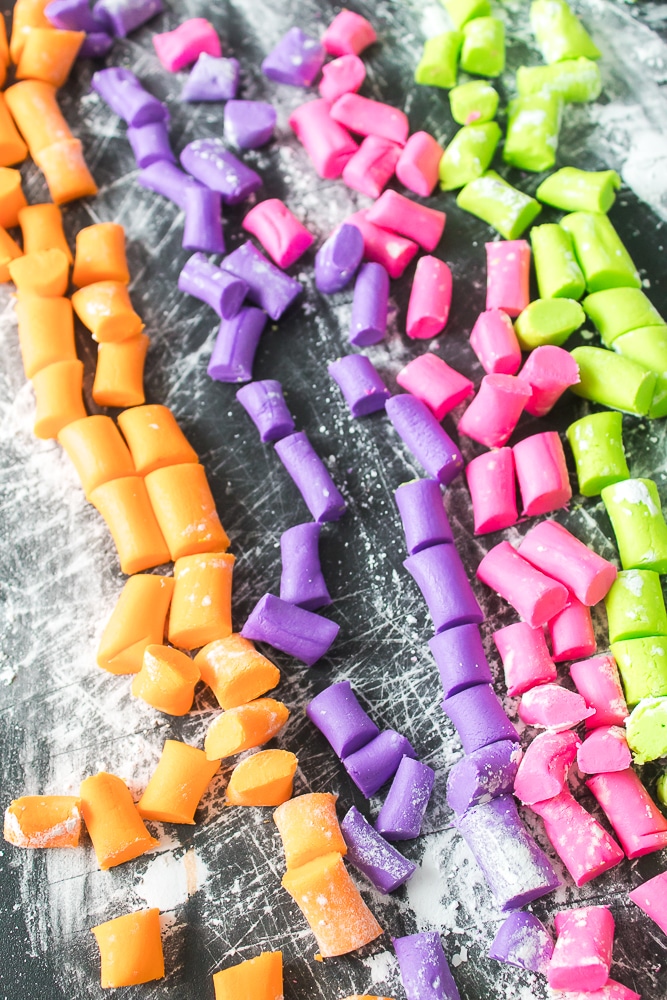
Once you have them all cut to the sizes that you want, allow to harden for 12 hours, ideally overnight before enjoying!
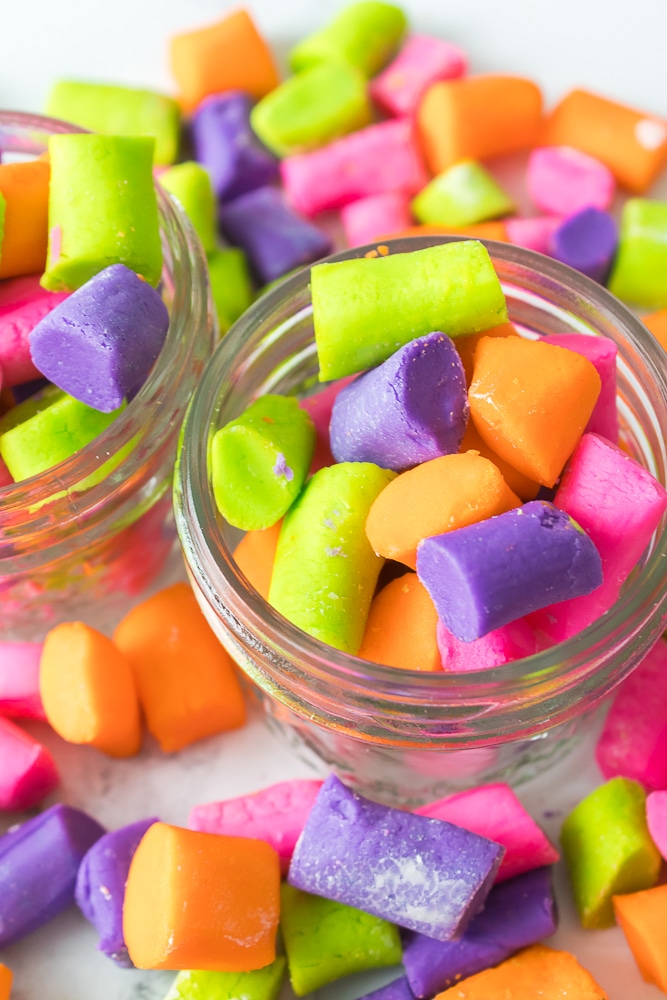
The outside of the butter mint will harden while the inside will be soft! Pop one in your mouth and they will melt there.
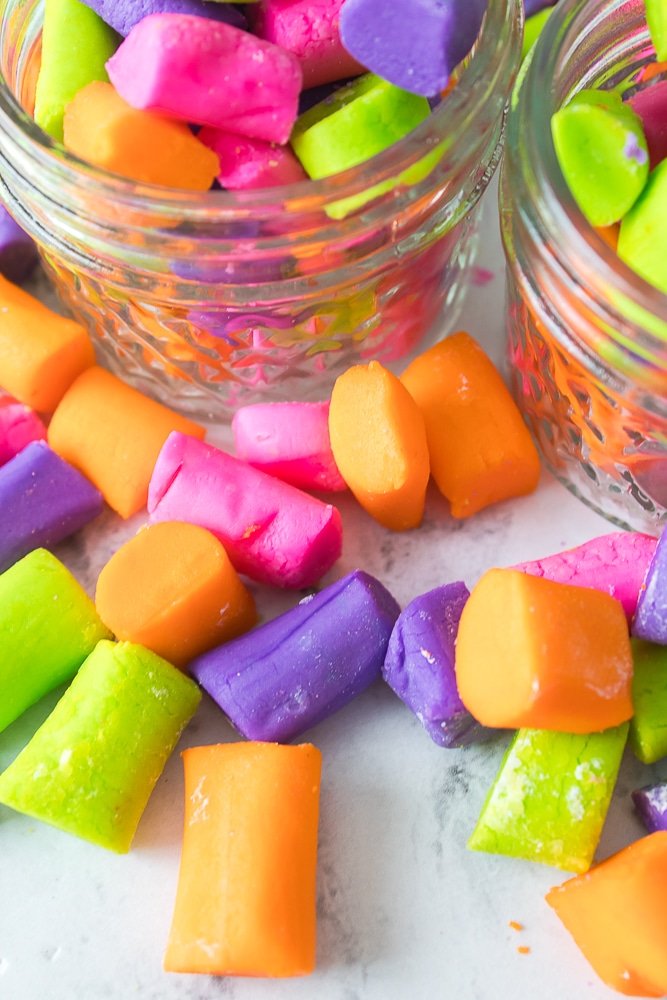
If you want to use them as a gift you can put them in these little candy boxes to hand out.
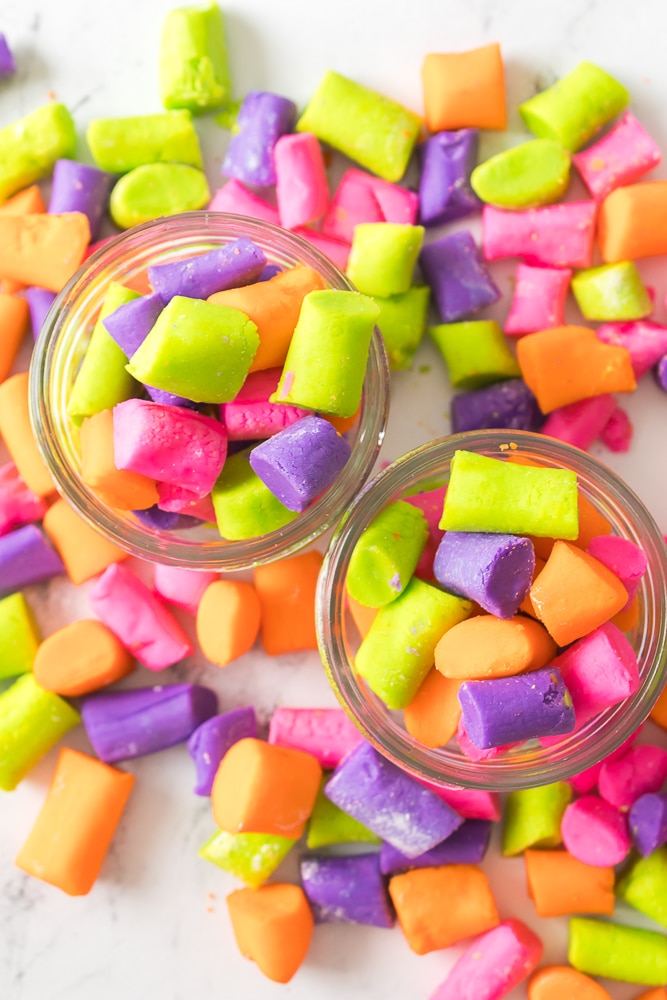

Good Old Fashioned Butter Mints Recipe – Easiest Way to Make Candy & Memories!
Description
These old fashioned butter mint candies are simple to make, and nostalgic to eat. Plus, you can change the colors making them work for so many occassions!
Ingredients
1 stick (1⁄2 c) unsalted butter
1 tbsp heavy whipping cream
4 c powdered sugar
1⁄2 tsp pure peppermint extract
Food coloring
Instructions
In a large bowl or a stand mixer, cream together the butter, heavy whipping cream, peppermint extract and 1 c of powdered sugar until combined.
Scrape down the sides of the bowl and continue to add 1 cup of powdered sugar at a time until the powdered sugar is gone and the dough comes together.
Separate your dough into 4 equal sizes and place into a bowl.
Place your food coloring into each bowl and stir until the coloring is fully combined.
Next, place a ball of dough onto a cutting board that has been dusted with powdered sugar. Separate the dough into two equal pieces. Roll the dough out using the palm of your hand into about a ½” size “rope”. Continue for all the dough.
Using a sharp knife, dough scraper or pizza cutter, cut into pieces.
Allow to harden for 12 hours, ideally overnight before enjoying!
The outside of the butter mint will harden while the inside will be soft!
Notes
Note – you can ommit the food coloring. It is purely decorative, so if you prefer to keep them the natural color, you can do that without it impacting the taste at all.
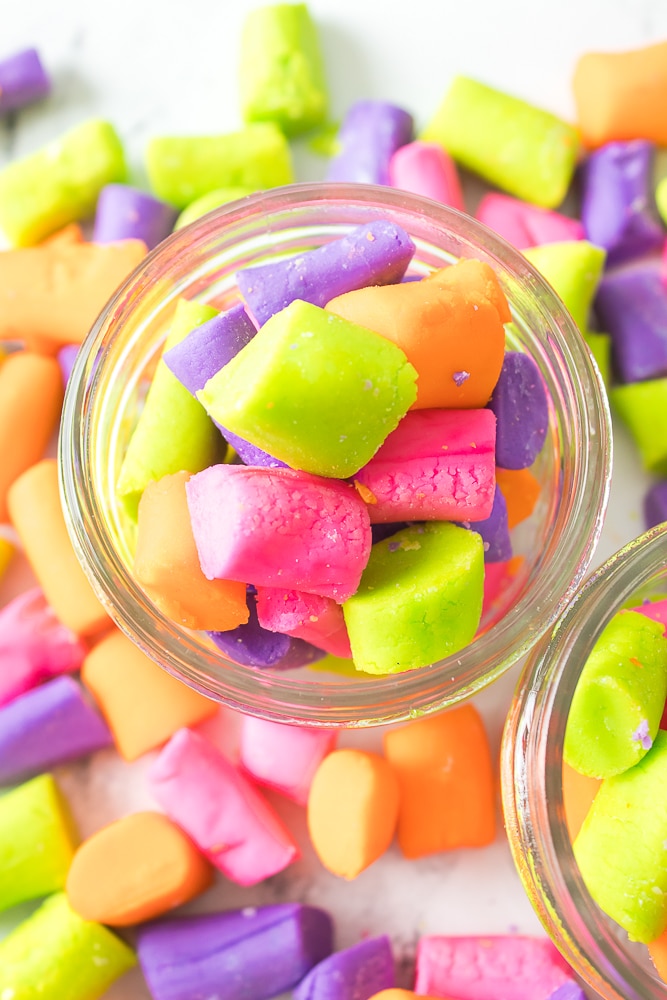
Good Old Fashioned Butter Mints Recipe – Easiest Way to Make Candy & Memories! is a post from Thrifty NW Mom


