Thinking about building a DIY armbinder? Before jumping into the creative zone, let’s talk about the nitty-gritty. Making your own BDSM toys comes with many risks. We’re talking about blood circulation cutoffs and the tricky business of trying to get out of it solo. Our expert suggestion? Treat yourself to the Saffron Gauntlet Cuffs at just $49—reliable, budget-friendly, and way safer. But if you’re still feeling the urge to get crafty, we’ve got some semi-safe tips below. Just promise us you’ll prioritize safety, alright?
- When you’re diving into restraint territory, especially with everyday stuff around the house, it’s super important to be aware of the risks. That’s why priority numero uno is always investing in gear that’s been properly tested and made for the job. It’s not just about keeping you and your playmates safe; it also amps up the whole experience.
- But, hey, if you find yourself in a DIY bind (pun intended), we’ve got you covered with some homemade ideas for a DIY BDSM armbinder below. Keep in mind to follow the how-to closely and handle these alternatives with serious care.
Why You Should Trust Us?
 Rachel Sommer is a seasoned sexologist who has worked with us since 2016 reviewing and building BDSM sex toys, especially homemade armbinders. With over a decade of experience in sexual wellness, she is one of the world’s most trusted authorities on this topic, lending her expertise to provide reliable and up-to-date information.
During her research for this article, Rachel found the guides from the two Reddit users Fanrin and nox661 especially helpful, and they are included in the fold. She also received great input from the rest of the My Sex Toy Guide team, especially Sandra Larson and Shane Davis, to see how doable each of them was.
To submit a question to Rachel, call her at 307-372-3895 or send an email to rachel@mysextoyguide.com. Be sure to include your full name and your phone number or email address.
What are DIY Armbinders?
A DIY armbinder is a homemade restraint used in bondage play used to fully enclose the wearer’s arms. People typically make them using leather, sewing, or tiling the pieces together. It’s also common to use a free sewing pattern, either finding one online or the crafty ones even making one themselves. These patterns come with holes where straps or D-rings can be added, giving it a personalized touch. And for the real pros, they go all out with extra straps and pockets, making these binders have unique patterns, because why not spice things up with your personal flair?
Is Making a Homemade Armbinder Safe?
No, building a homemade armbinder is not safe. The main reason is they don’t have the same safety features and build quality as commercial products. From wonky hand pocket sizes to too many straps—it’s a recipe for an armbinder disaster. We’re not trying to rain on your creative parade, but safety first, right?
Instead of risking your and your partner’s safety, you should rely on the best BDSM ropes for a better overall experience.

Some Semi-Safe Ideas
Note: Any action you take upon the information on this website is strictly at your own risk. Please read our Terms of Service to learn more.
1. Lounge Pants
Let’s start with lounge pants which make for a decent armbinder. Imagine the comfort of those stretchable, cozy lounge pants turned into a custom armbinder, offering not just functionality but a bit of personalized touch to your restraint game. It’s like giving your creativity a comfy hug. So, whether you’re a DIY wizard or just spicing up playtime, lounge pants bring that chill vibe to your homemade armbinder endeavor. Here’s how you can do it:
Step-by-Step Guide:
- First, find a pair of lounge pants that fit snugly around your arms.
- Make a pattern you can follow and cut off the legs of the pants, leaving just the waistband and the material that covers your arms.
- Draw a pattern in the location of the crotch in the pants, cut a small hole, and slip your arms through the holes in the waistband. Make sure to cut the holes correctly and make adjustments as you see fit.
- Pull the material up over your arms, ensuring it’s snug but not too tight.
- Tie the legs of the pants around your upper arms, just above the elbow.
- Tie the waistband around the back of your neck to secure the armbinder in place.
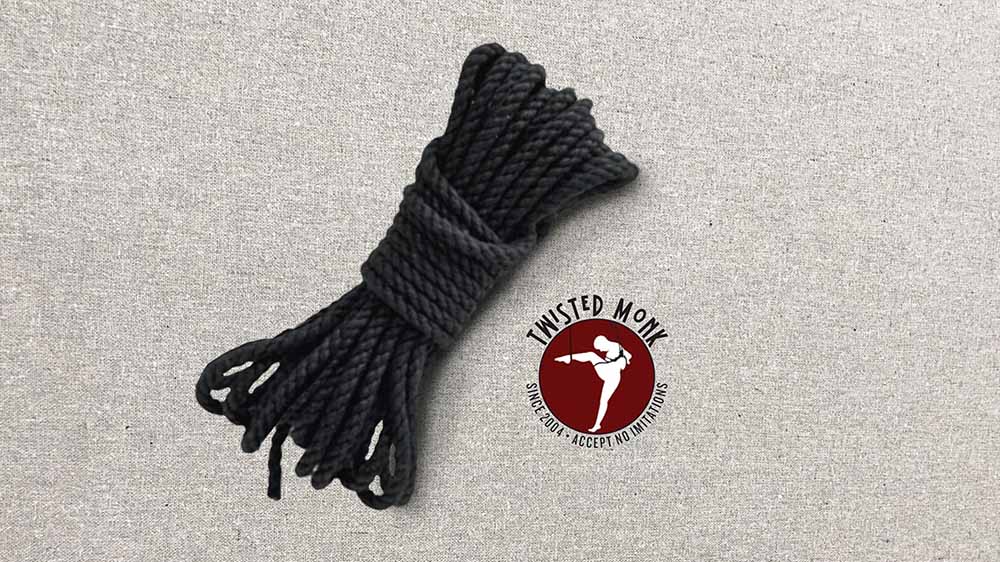
If you’re super into your chill lounge pants and thinking of using them in a whole new way, snagging the Twisted Monk’s Hemp Ropes (product above) would be a pretty solid move. There is nothing mass-produced, cheap, or subpar about any of them. Each was manufactured from ethically sourced, high-quality hemp hand-conditioned to be extremely comfortable. Ideal for making an excellent armbinder.
2. Duct Tape Mold Pattern Armbinder
Next, we have this crafty suggestion from a Reddit user named Fanrin that takes making a pattern in a very creative approach. Forget the conventional—this DIY alternative has you reaching for duct tape, plastic cling wrap, and a willing model. Easy right? No not really. This one is for experienced DIY pros only.
Fanrin’s step-by-step guide takes you from creating snug hand pockets to adding a touch of lace and optional D-rings and pockets. It’s a homemade twist on bondage that’s both creative and daring. Here’s how you do it:
Materials Needed:
- Duct tape
- Scissors
- Plastic cling wrap
- A willing model
Step-by-Step Guide:
- To make the pattern, you need to wrap the model’s arms in plastic cling wrap. This will prevent the duct tape from sticking to their skin while you make the pattern.
- Starting at the base of the model’s hand, wrap a layer of duct tape around the arm. Be sure to wrap tightly, but not so tight that it cuts off circulation. The holes from this mold will serve as a pattern for the hand pocket.
- Once you think the hand pocket for each arm is ready, continue wrapping the duct tape around the arm, overlapping each layer slightly until you reach the model’s shoulder.
- Repeat steps 2 and 3 for the other arm. Make sure to use the same design patterns to avoid errors.
- Once both arms are wrapped in duct tape, carefully cut the mold off the model’s arms. Be sure to cut along the seam where the two sides of the mold meet.
- Once the design patterns are ready, cut the mold along the seam to make two separate pieces, one for each arm.
- Use the duct tape mold pieces as a pattern to cut out the fabric needed for sewing the armbinder.
- Add lace to each of the sleeves. You can also add some d ring and pocket to the sleeve. But this is up to one’s discretion.
Source: Reddit
3. DIY Leather Armbinder
For the last one, we have homemade armbinders with a sophisticated look. You might need a new pattern for this because once you set the D-rings (a couple of them) and rivets to the main leather piece it’s pretty much final. Nox661’s got you covered with step-by-step wisdom to make sure your armbinder fits like a cozy glove. And why not, throw in some clips for that extra oomph? To get started, here’s their steps:
Materials Needed:
- Main leather piece (large enough to cover the arm)
- D-ring (with different d-ring holes or keeper loops for more options)
- Rivets and rivet setter
- Clips (optional)
- Buckles
- Leather straps
- Easy-to-follow pattern
Step-by-Step Guide:
- Cut the main piece to the desired length and width to fit comfortably around your arms. Have a pattern ready for your arms first or download a pattern to make sure you cover the entire arm length from wrist to elbow.
- Attach the D-ring to the top end of the main piece. You can also use keeper loops for this. Ensure they are evenly spaced and symmetrical. You can add more D-ring or keeper loops depending on your taste and preference. Just make sure the pattern you have allows it.
- Weld and stitch all the pieces of the edges of the main piece to make a clean and secure finish. This will prevent the edges from fraying and add strength to the armbinder.
- If you choose to have clips on the armbinder, attach them near the middle under the vertical strap. These clips will allow you to connect the armbinder to hard points easily.
- Add buckles to the armbinder. For comfort, you can extend the main body of leather to cover the buckles partially.
- To prevent the straps from slipping and moving out of parallel, consider running the straps through holes in the main piece before attaching them to the buckles. Adjust the size of the holes correctly in the pattern for best results. This will keep the straps aligned and in place during use.
- On some occasions, you have to make the straps longer than you initially need in your pattern. This allows you to adjust and cut the straps to the correct length once the entire armbinder is assembled. This way, you can ensure a proper fit for the straps.
- Finally, once all the components are in place and secured, test the armbinder prototype to ensure it is sturdy and comfortable. Make any necessary adjustments before finalizing the piece.
Source: Reddit
So, the Liberator Talea in the image above might not scream “armbinder,” but let me tell you, it’s the chill, happy-go-lucky buddy you’ve been looking for. Think of it like the superhero of bondage gear, ensuring you’re all comfy without any unexpected bumps or scrapes, thanks to its faux leather magic.
If you’re all about top-notch quality and not keen on going the DIY BDSM spreader bar route, the Liberator Talea has got your back. Plus, you can check out tutorials posted online with cool patterns or extra straps. Just a pro tip: make sure those added straps don’t cramp anyone’s style—comfort first, always.
Not Safe at All Ideas
Using non-stretchy or rigid materials: Opting for non-stretchy or rigid materials in homemade armbinders may pose safety risks, potentially causing injuries or making it challenging to escape if needed. Even if the pattern is on the spot, such materials can constrict blood flow and limit movement, leading to discomfort or circulation problems. It’s advisable to choose stretchy fabrics like lounge pants or leggings to ensure flexibility and facilitate easier release from restraints.
Disregarding the risk of circulation issues: Ignoring the potential for circulation issues is a serious concern. Ill-fitted armbinders can restrict blood flow, resulting in numbness or tingling in the hands and fingers. If you or your partner experience such sensations, it’s essential to promptly remove the armbinder to prevent further complications. Prioritizing safety and comfort is paramount in DIY restraint practices.
How to Use A Homemade Armbinder?
Using a homemade armbinder can be as thrilling as a rollercoaster ride if done correctly. Here’s the lowdown on how to strap in for a safe and entertaining experience:
- Make sure the armbinder is snug but not squeezing the life out of you. We’re aiming for excitement, not a numb-handed horror show!
- Enlist your partner in this grand armbinder ceremony. Slide those arms in like you’re putting on the fanciest jacket of your life. No twists or bunching, please – we’re not into armbinder fashion faux pas.
- As the armbinder settles in, let your partner play the role of the fashionista, tightening those straps or laces with the finesse of a red-carpet stylist. Communicate, people! If you’re feeling any discomfort or tingling, it’s not a secret – spill it so adjustments can be made.
- Once fully strapped, let the experimentation begin! Strike a pose, and try some interpretive dance for fun, but remember, comfort is key. Your body knows what it likes, so listen to it.
- When the show’s over, it’s time for the grand finale – extracting those arms like a magician pulling a rabbit out of a hat. Slow and steady wins the race, and communication is still the magic word.

Note: Once your homemade armbinder is ready, you might want to try using a homemade spanking skirt and a DIY spanking paddle as well to introduce some impact play in your session.
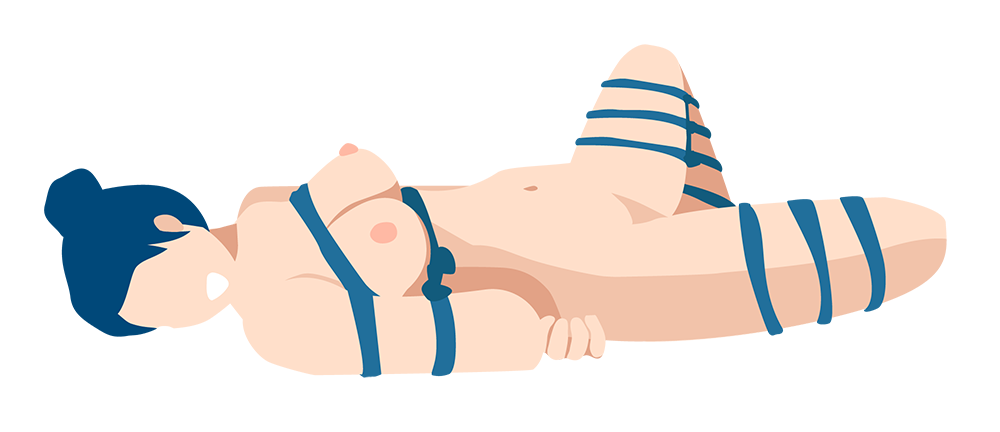
For the DIY rope armbinder enthusiasts, check out an armbinder video or image from a BDSM professional to understand how it is set up. This will also help you learn various patterns and techniques, from there you can channel your inner macramé artist, and impress your partner with even a couple of rope skills that would make a sailor jealous. No sewing is required – it’s like crafting with a kink!
Why is it Better to Buy Real Armbinders?
Having a legit armbinder is like having the right tool for the job. Sure, crafting your own might seem like a DIY adventure, but let me give you the lowdown on why going for the real deal is the way to go.
Design
Design Counts. A lot. Commercial armbinders are like the seasoned blacksmiths of the bondage world – they’re crafted with safety and comfort as the top priority. The materials are top-notch, ensuring a durable and long-lasting experience. The design is like a well-thought-out dance; it keeps those arms securely bound behind the back, leaving no room for unnecessary fumbles or discomfort.
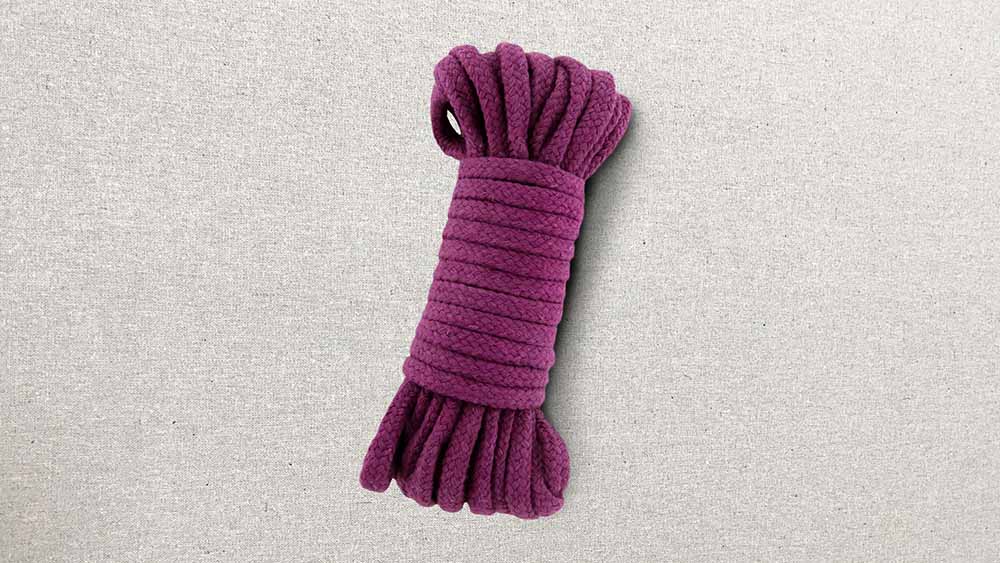
Note: For kinksters who want to go for design, you can never go wrong buying the Doc Johnson Japanese-Style Bondage Rope. This rope was created from quality cotton and is a perfect blend of low cost, durability, and comfort. Toss it in the washing machine for easy cleaning and storing. Piece of cake. If chafing’s not your jam, this rope is a winner. With its super-smooth texture, it’s a must-buy, promising no irritation for even the most sensitive skin.
On the flip side, your DIY attempt might end up more like a shaky Jenga tower. Low-quality materials can spell disaster, with the risk of breakage or, worse, causing unintended injuries. Let’s face it, your handmade version might not be as smooth in the arm-restraining department.
Safety
Safety isn’t just a side note; it’s the headline act in the bondage playbill. Real armbinders are like the James Bond of restraints – safe, secure, and oh-so-smooth. Adjustable straps are the secret agents here, ensuring a fit snugger than your grandma’s knit sweater. The cherry on top? Clear instructions that make securing the armbinder a walk in the park.
Now, compare that to your DIY escapade. It’s like trying to follow a treasure map drawn by a toddler. Getting that armbinder securely in place could be a puzzle, leading to discomfort or, dare I say it, potential injuries. Plus, forget about adjustments – a one-size-fits-all approach is a risky game.
Frequently Asked Questions
What are some common mistakes to avoid when trying to make an armbinder?
There are a few common mistakes that can be easily avoided when you want to create an armbinder. The most common one is not using a pattern. You can find a blog post online that gives a new pattern and print it. If you can’t find a blog post for a downloadable pattern, you can look for videos posted on YouTube and use them for reference. Once you grab a free downloadable pattern, it’s game on for sewing the armbinder. Stitch those sleeves together and add any pocket or extra features you fancy.
The most important part of the armbinder is the laces that will secure it in place. You can use a variety of laces to create the perfect fit for the wearer. To further boost the BDSM experience, you can try making your own DIY nipple sucker or a nipple clamp at home as they go very well with armbinders.
What are some alternative designs for armbinders?
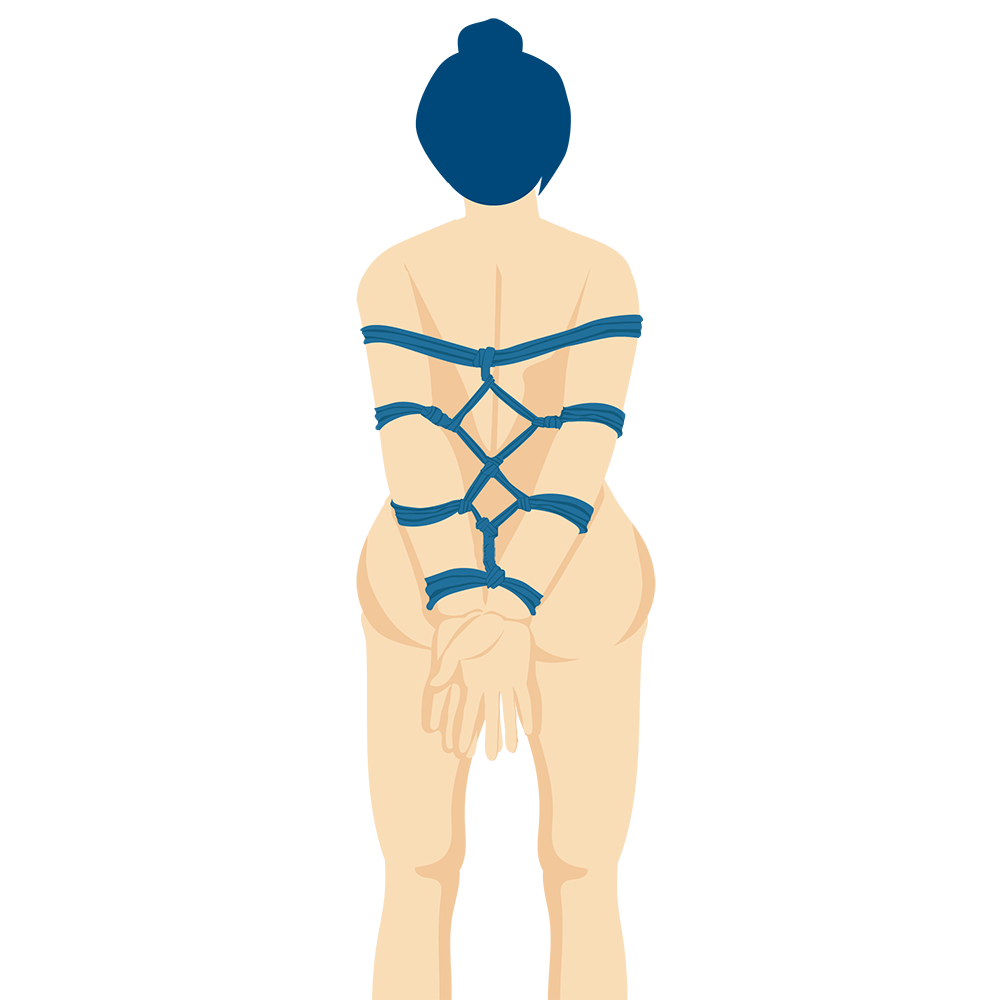
While the classic armbinder design is popular, many alternative designs can be just as effective. One alternative is the “strappado” design, which involves tying the arms behind the back and pulling them upwards, creating a tension that can be both intense and exciting. Another alternative is the “frog tie” design, which involves bending the arms at the elbows and tying them to the upper arms, creating a comfortable and secure hold. Ultimately, the design of the armbinder will depend on personal preference and the desired level of restraint.
Thanks for reading my guide on how to make an armbinder!
Rachel
Do you have any DIY bondage questions? Ask us on Twitter.
The post DIY Armbinder: PRO TIPS from a Professional Sex Toy Tester! appeared first on My Sex Toy Guide.